Showing posts with label homemade. Show all posts

Saturday, April 7, 2012

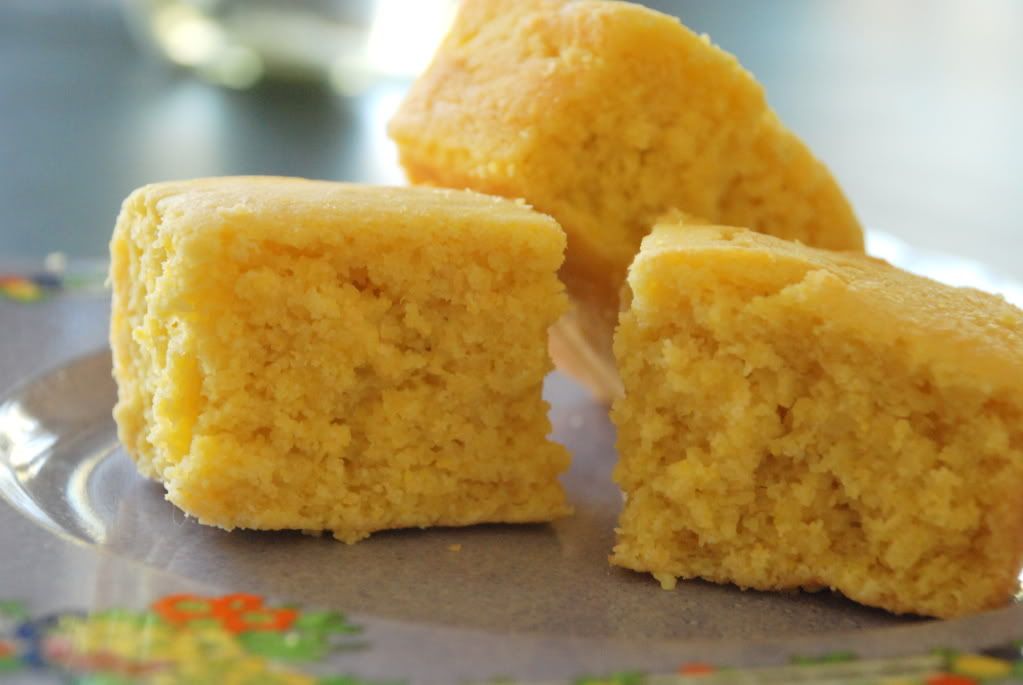
Gluten and Dairy Free Cornbread! Yummers!


I'm not eating carbs so much right now due to Operation De-babyfy My Body. (the working title was ODMB, but that sounded too much like a deceased rapper for me) We had guests to dinner last night.  One of them, the annoying one who makes waitresses check the ingredients in everything before she orders (this is why we can go out to eat together with little fear of being a nuisance to each other, well, at least when it comes to food), is gluten and dairy free as well.

She's also attempting, along with me, to be glutton free.  We both complimented each other on our weight loss and then hoed into the gf and df cornbread I'd made specially for the occasion.  And then I tried to foist more of it on her because she'd lost more weight than me.  rude.

Now, I know that our carb starved pallets may be a little easier to please but this was seriously amazing cornbread, even on a gluten eating level.  I took another recipe and tweaked it and played with it until it was not only gfdf but also dericious. I spelled it like that on porpoise (and that too), cuz it's funny that way.

So here it is. Enjoy:


GLUTEN AND DAIRY FREE CORNBREAD

1 cup almond flour or Jules gf flour

3/4 cup stone-ground cornmeal

3 Tablespoons of raw sugar

2 1/2 teaspoons baking powder

3/4 teaspoon salt

1 egg beaten

1/4 c. applesauce

1 cup milk (almond milk, or whatever milk you prefer)

1/4 cup coconut oil

Directions:

Preheat the oven to 400 degrees.  Mix the dry ingredients (flour, cornmeal, sugar, baking powder, and salt) together in a medium bowl and set aside.

Grease 8" pan or loaf pan with coconut oil.  You can also use a cast iron skillet if you are awesome like that.  For cast iron, melt 1 T. coconut oil in skillet on stove top.  Swirl oil around to coat all inside surfaces.

In a small bowl, combine the eggs, milk, and 1/4 cup coconut oil.  Add this mixture all at once to the flour mixture and stir until just moistened.  Do not over mix!  Pour batter into the baking pan or hot skillet. Bake for 25-30 minutes, 15-20 for cast iron skillet, or until a wooden toothpick comes out clean. Serve warm.

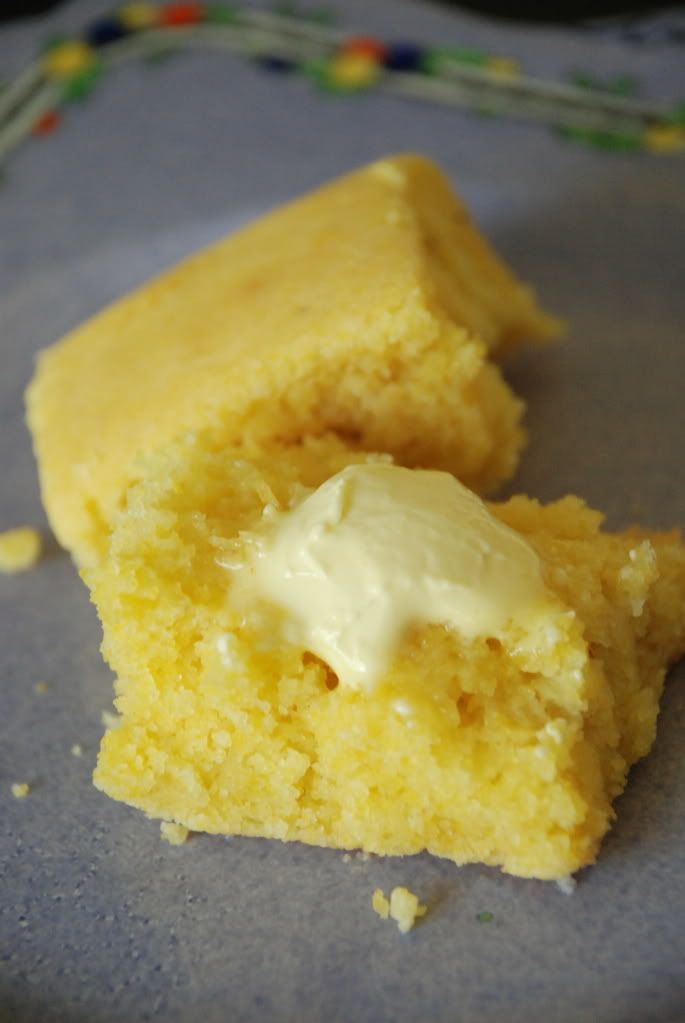
this is not butter, sorry. it's earth balance.

You're welcome.

Thursday, March 22, 2012

Recipes! Recipes! Oo La La! (chunky monkey cookies and gluten, dairy and sugar free cookie dough dip)

Well, hello there all you smiling, happy people holding hands!  Please excuse any typographical errors herein, I am typing with one hand and feeding a baby with the other!  Huzzah!

But that is not the end of the many wonders I have turned my hand to today. 

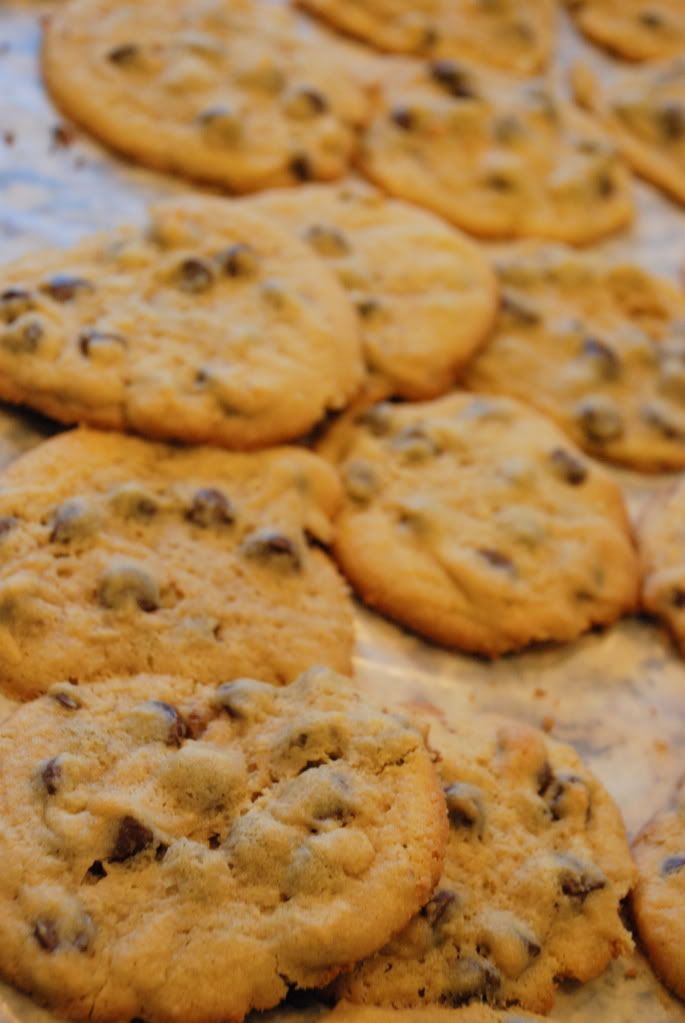
First I made the highest sacrifice a mother can make for her children: I baked our favorite cookies.  Cookies I can not eat.  If you are all at sea, go here for the explanations.  That's right, these cookies are chock-a-block gluten and dairy.  And they are soo good.  They are not "foodie" cookies.  There's no cardamom, basil or raw honey in them.  In fact, you make them with a box of (gasp!) instant pudding.  Years ago, long before children, I used a box of banana cream instant pudding and thus Betsi's Chunky Monkey cookies were born.

You can use any flavor pudding you wish!  Vanilla pudding will just produce regular chocolate chip cookies, only better.  The pudding makes these incredibly moist, rich chocolate chip cookies.

photo taken one-handed with baby on my hip.  Sorry there's no pretty frou-frou display.

So here's the recipe:

2 1/4 c. flour
1 tsp. baking soda
1 c. butter, softened
1/4 c. sugar
3/4 c. brown sugar
1 tsp. vanilla
1 3.9 oz (small) instant pudding mix (dry)
2 large eggs
12 oz. chocolate chips (go for the Ghiradelli, baby)

Stir together flour and baking soda with whisk.
Beat butter and sugars with mixer. Beat in vanilla and pudding until smooth.
Mix in eggs, one at a time.
Slowly beat in dry ingredients.
Stir in chocolate chips.
Chill for 30 minutes.
Heat oven to 350*
Drop dough in teaspoon size balls on greased cookie sheets, one inch apart.
Bake for 10 minutes or until beginning to firm on edges.
Remove from cookie sheets three minutes out of the oven.
Delicious...

So, there I was, lumping out delicious cookie dough and not even able to make myself g&d free cookies because I'm off sweets right now in an attempt to shed the baby weight; when I remember the recipe I pinned recently on Pinterest (you can check out my boards by clicking on the Pinterest button up on the right).  It looked potentially good.  So I thought I'd give it a go.

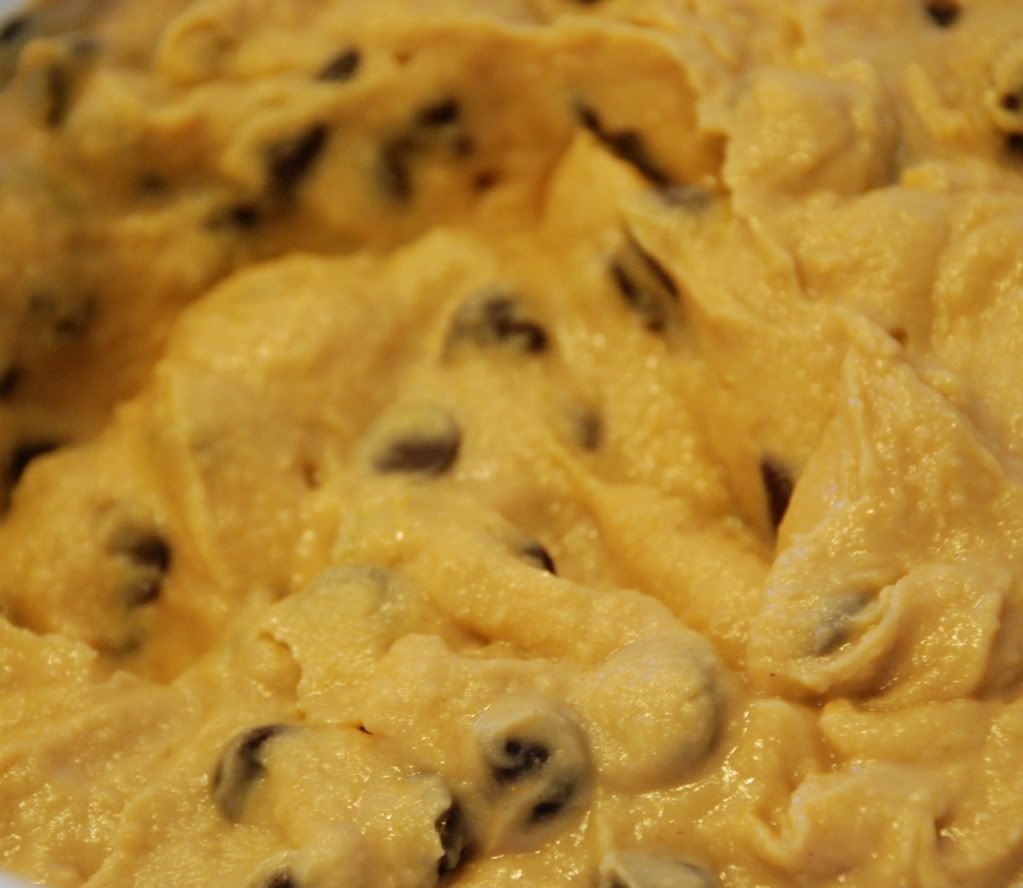
I made Cookie Dough Dip.  Gluten, dairy and sugar free cookie dough dip.  It's pretty darn good!

I found the original recipe here.

I modified it a bit.  The original recipe calls for soaking dates overnight in water.  I didn't have dates.  Or patience.  Definitely not the patience.   So I used raw stevia.  I think it turned out pretty good.  You have to be ok with the taste of stevia though.


Cookie Dough Dip

1 1/2 cups chickpeas (1 can drained and rinsed)
heaping 1/8 tsp salt
a little bit over 1/8 tsp baking soda
1 T plus 1 tsp. nut butter (this makes it taste like peanut butter cookie dough.  I was all for it but the writer of the original recipe suggests using only 3 T to avoid this.  I used sun nut butter.)
1 1/4 cups raw stevia
2 T nondairy milk.  I used coconut milk.  I used closer to 3 T but felt this made the dip too thin.
1 cup sugar free chocolate chips or chunks. Recipe for these below. (I don't recommend most sugar free chocolates on the market.  They are generally not dairy free and tend to use unhealthy and diarrhea inducing fake sugars) This site is a good source for all natural dairy, gluten and sugar free chocolates.

Put all ingredients but chocolate chips in food processor and blend till very smooth.  Stir in chocolate chips.  Voila!  Eat with a spoon or dip gluten free pretzels, apples, whatever in!  Well not "whatever".  I mean, don't try to dip little sausages on sticks or anything like that.

Sugar Free chocolate bars

1/2 cup plus 1 T cocoa powder (I prefer Ghiradelli)
4 T unrefined coconut oil (melted)
40 drops NuNaturals vanilla stevia drops (or 1/4 cup agave)

Combine coconut oil and stevia drops.  Stir in cocoa powder and 3 T nondairy milk.  Then stir like a maniac.  Stir like it's your job.  Stir like a boss.  Stir until it gets thick. Smoosh between waxed paper in Ziploc bags and refrigerate or freeze until hard.  Once hard, chop them up for sugar free chocolate chips!

Ok, I've got to go now, the baby is going all Hannibal Lecter on my face.  Seriously, kid's going right for the eyes lately, with those scritchy-scratchy fingernails and a gleeful smile.

Sunday, December 18, 2011

Christmas Traditions


I have always loved Christmas, a LOT.

Growing up, Christmas was truly magical. There were traditions; going to the Christmas tree farm, with saw in hand and cutting down our tree, decorating said tree while we all felt habitually sicker and sicker (years later we would discover we are all allergic to pine trees and half of us are allergic to the gluten and sulphites in the cookies we were scarfing down), baking a kajillion cookies (extra sulphites added), playing the Nutcracker Suite and Holiday Classics records (I'm old, get over it.) and the Midnight Mass cassette tapes (see, not that old).  I clearly remember the excitement we felt on Christmas Eve, tucked in our beds, when no one was stirring, not even a...oh, wait, no.  My mom was definitely up.  Filling stockings, finishing icing the Christmas Stollen bread and making sure there were tater tots for the eggy casserole goodness that passed as our only non-sugar food source until the turkey dinner.

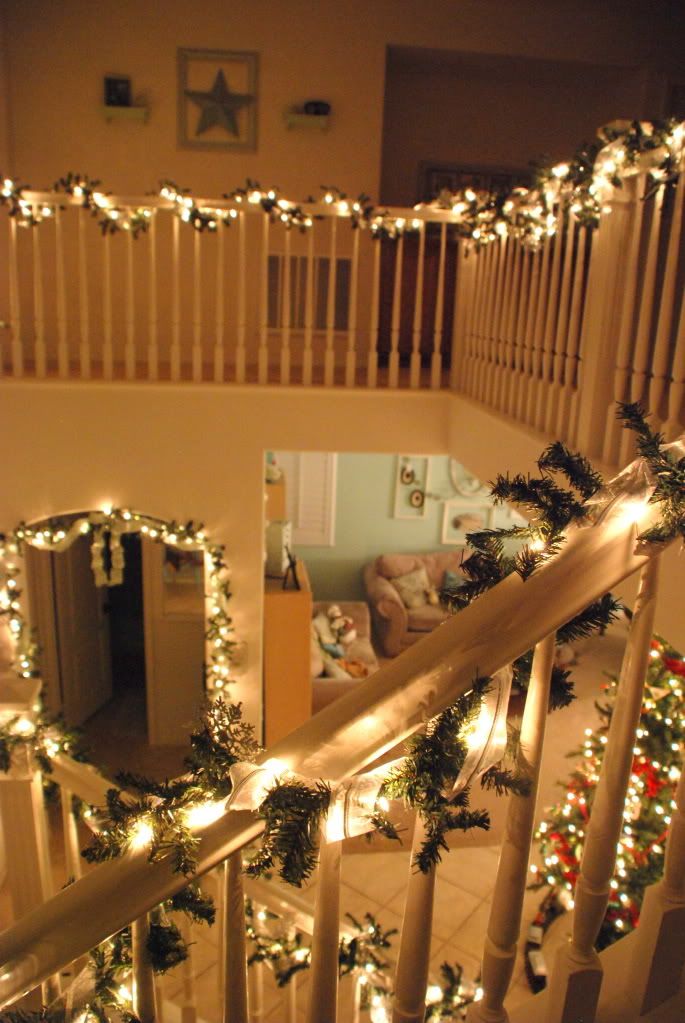
why, yes, the 154 million feet of lighted garland is a pain to fluff and wrap around the banisters. but totally worth it.

We didn't "do" Santa.  My dad had the traumatic experience, as a lad of five, of hiding behind the wing back chair in the living room, to catch Santa and discovering it was his mother putting the presents under the tree.  It was 1950 and Christmas was a sham and his mother a liar.  He started drinking heavily and doubting the existence of God or something along those lines.  So, yeah, we never "did" Santa in our house.

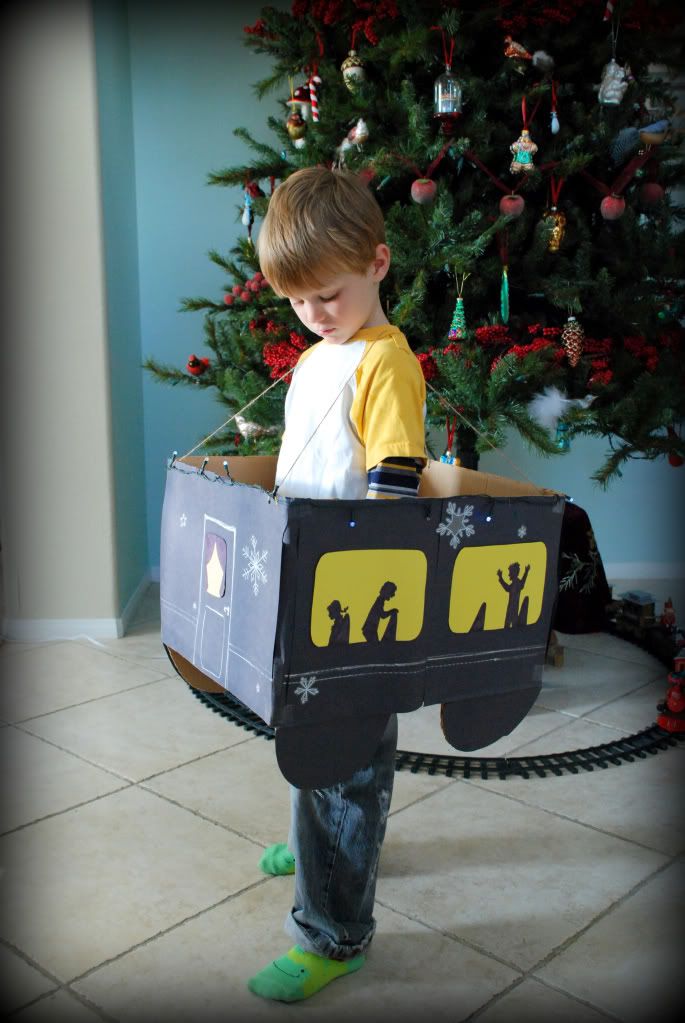
our school does a Kindergarten Polar Express parade every year.  the parents have to make a train car out of a box for their youngling.  this was one of the dodgiest, most slap dash cars there.  people in this town need to get a life.
My family now-a-days don't "do" Santa either.  For many and various reasons that I'm not really interested in debating.  Seriously, immediately following religion and politics, nothing gets people more het up than voicing your views on the jolly old elf.  I think it's really what started WW2.  Poland was all "Santa's the real deal.  You're all killing the magic of Christmas." and Hitler was all "Oh yeah?  Well, the Easter Bunny's a sham too!" and then there was much bloodshed.

Four Little Birds.  Making light of history's darkest hours since 2010.

he was known for his excellent finger strength due to strenuous daily digit exercises.

Anywho, we have shared the real story of Saint Nicholas with our kiddos.  So they know who he is.  And they have been threatened with all kinds of wrath should they utter the truth to any other children.  We have explained that some parents like to "play" Santa with their kids and it's not up to us to interfere.

Last Christmas an older gentleman, standing in line with us at the grocery store checkout, asked Neill (then four) if Santa was coming to his house.  Neill gave him an impatient look and said "Of course not!  Santa's DEAD."

Needless to say, the elderly gentleman looked at me like I had just clubbed a sack of baby seals to death.


My parents didn't need Santa to make Christmas magical.  You know, it really is true that you don't understand how much your parents did for you growing up until you are a parent.  Christmas wasn't magical all on it's own.  My parents made it magical.  They instilled the traditions.  They spent time with us and allowed us to be involved in all the excitement and celebration of our Savior's birth.  They climbed step ladders in the cold to hang big, colored lights on the house (which I still think are pure, unspeakable delight), they spent weeks staying up well past midnight to sew little dresses for our dolls and fairy ballet costumes for us.  And it was all wrapped up and surrounded by what Sufjan Stevens calls "that creepy Christmas feeling".  That other-worldly, Word-become-flesh, God incarnate thing that transports us all from our comfortable suburban reality into a stable where an inexperienced teen girl and a nervous carpenter somehow delivered God himself safely into the world, screaming and covered in amniotic fluid.

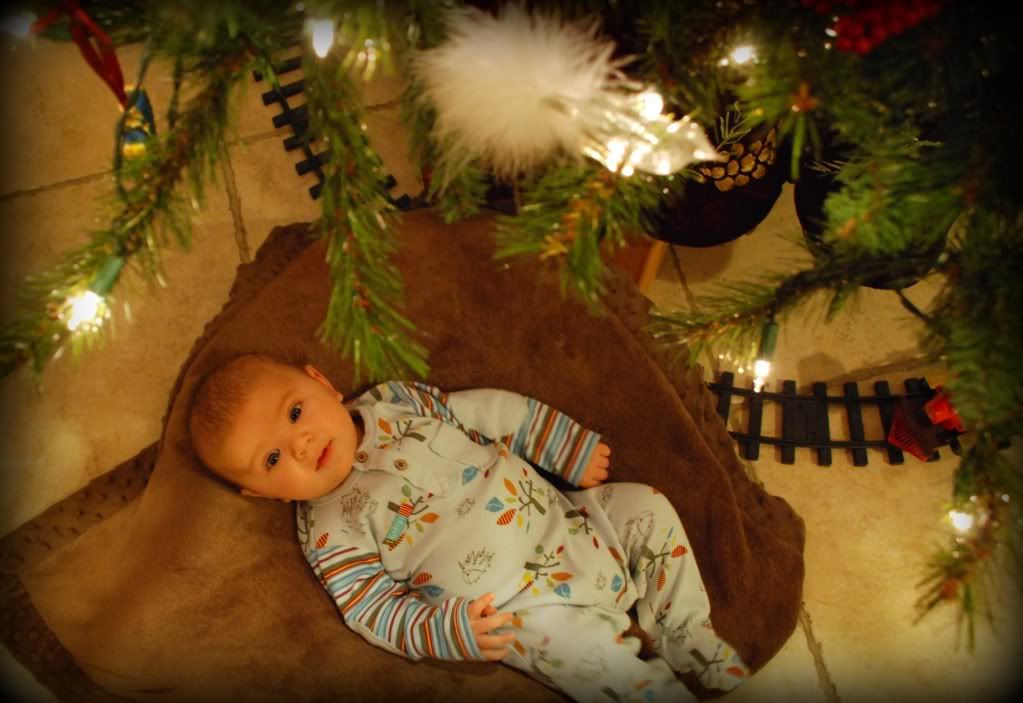
"my mother leaves me on the floor under the tree. but aren't I adorable?"

The story of Jesus' birth is very intentional in our celebration of Christmas.  We enjoy our advent calender.  Each day yields a chocolate treat and a couple verses from the first two chapters of the book of Luke.  Candy and scripture is often paired together in my house.  After all, in Biblical times they would give children pieces of honeycomb for memorizes parts of the Torah.  It's ok to teach your children that the Word of God yields good things in our lives.

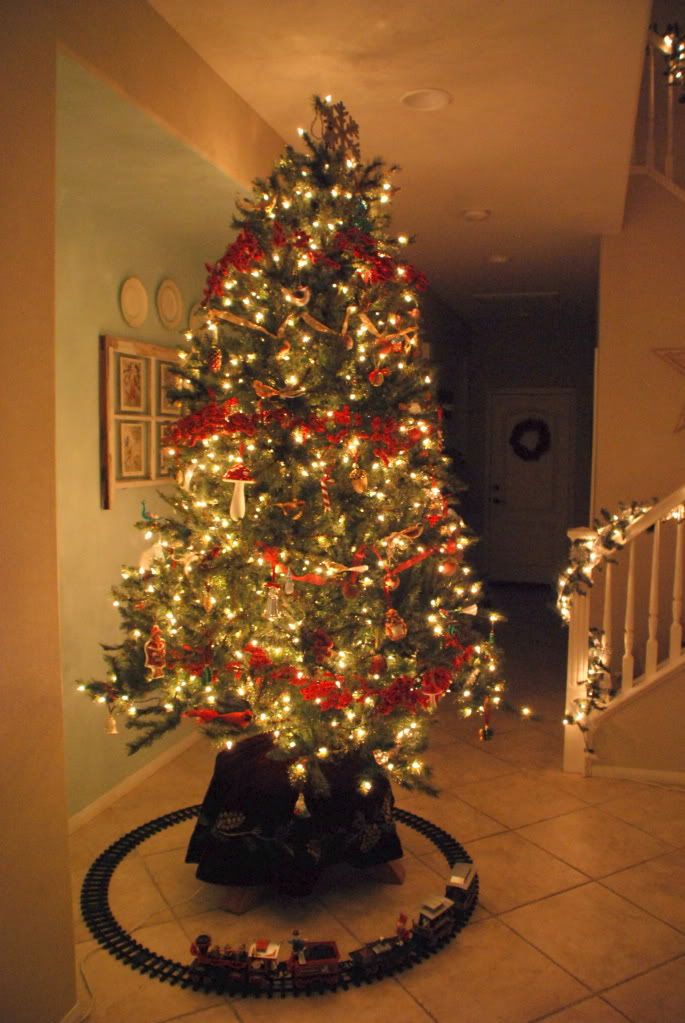
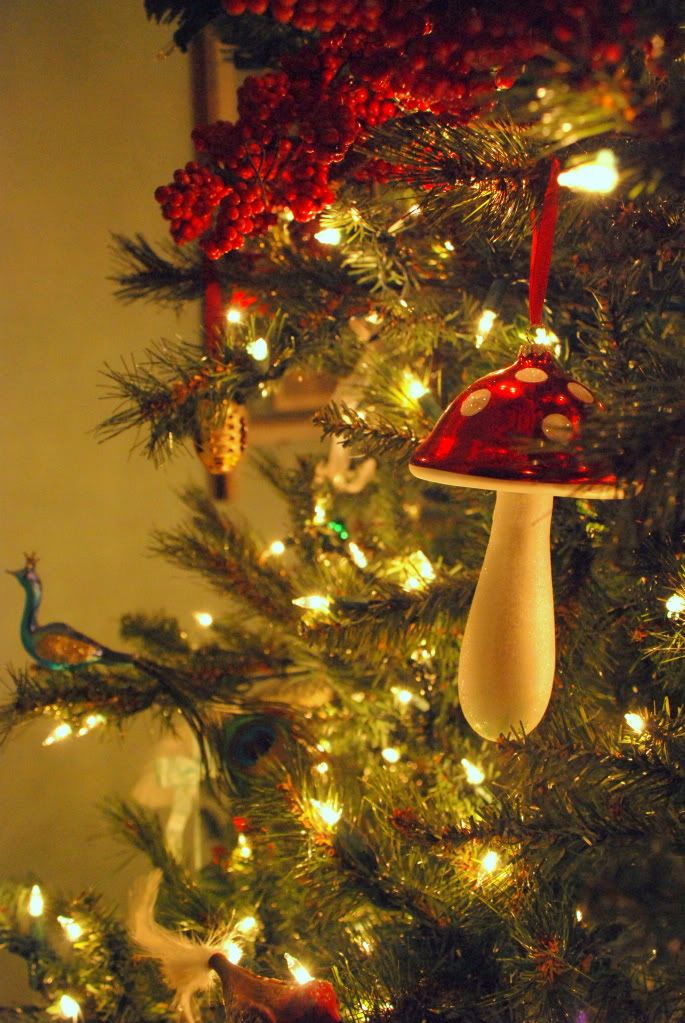
Every year my kids "help" decorate the tree (admittedly fake. allergies, you know).  They usually hang a couple ornaments and then wander off to play a computer game or spill something sticky.  This year though, they hung every ornament.  Every. German. Hand. Blown. Glass. Ornament.  It was terrifying.  There was such speed and excitement and loudness.  And yet, not a single ornament was broken.  See?  Existence of God proven.


And I am proud of myself.  Because I let them do it and I decided that even if one broke, it wouldn't be the end of the world.  Or even that important.  unless it was the cuckoo clock or the giant mushroom or the bluebird or the weird toadstool gnome guy.

And after they went to bed, I moved half the ornaments up north.  And hid the pickle deep in the branches at the back of the tree.  On Christmas Eve, they go searching for it and whoever finds it gets a little prize.  Usually a forgotten chocolate from a missed day in the advent calender or something equally lame.  I'm only one woman here, people.

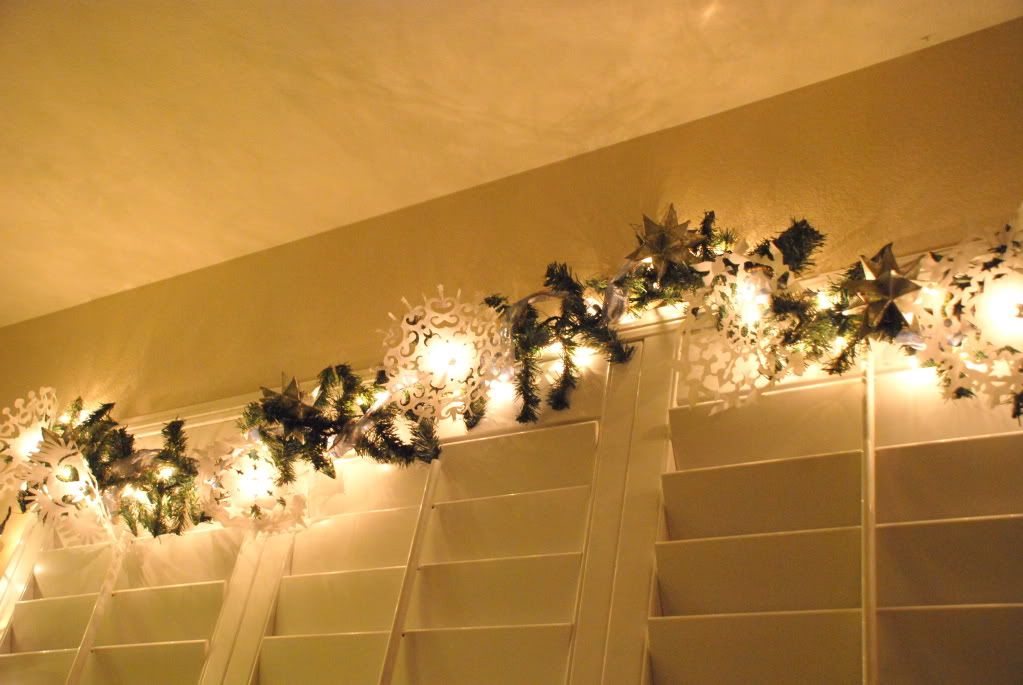
every year we have a little snowflake cutting party on the first cold night of winter.

We also make a lot of cookies.  This year I've made one batch regular and a half a batch gluten and dairy free of my favorite recipes.  And so, as a little week before Christmas gift, I will leave you with my recipe for Chocolate Candy Cane Crackles, gluten and dairy free!

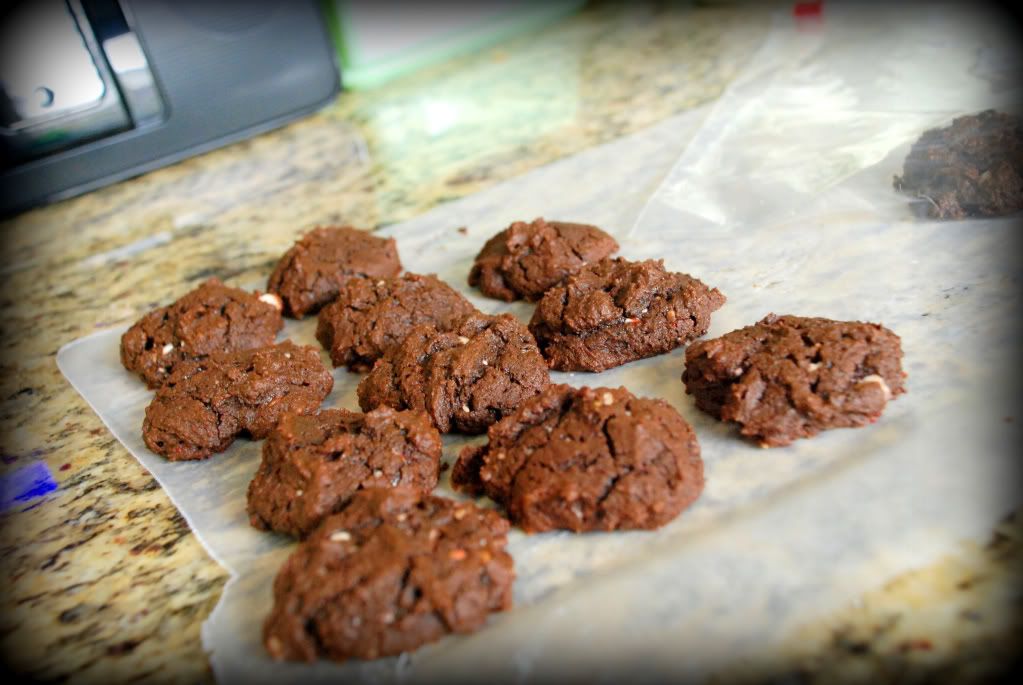
yeah, they kinda look like poo, but trust me, they are SOOO delicious.

Chocolate Candy Cane Crackles

Ingredients:
1 1/4 c. rice flour (or preferred gluten free flour, fine flour works best)
1/2 c. unsweetened cocoa powder
1/2 tsp. baking soda
1/2 tsp. salt
1/2 c. Earth Balance vegan margarine
1/3 c. l. brown sugar, packed
1/3 c. sugar
1 large egg
1 1/2 tsp. vanilla
8 oz. candy canes, finely crushed

Directions:
1. Preheat oven 350*.  Grease cookie sheet
2. Combine flour, cocoa powder, baking soda and salt. Whisk to combine until thoroughly mixed.
3. Combine butter and sugars. Cream. Add egg and vanilla, beat to combine.
4. With mixer on low, spoon in dry ingredients; mix to combine. Add crushed candy, mix until evenly combined.
5. Spoon dough into 1" scoops. Place 3" apart and flatten slightly. Bake 10-12 min.
6. Remove sheet from oven and immediately use a metal spatula to neaten any edges where any candy may have melted out. Let cookies cool for 5 minutes on sheet.  Transfer to waxed paper or wire cooling rack.  Makes 4 dozen.

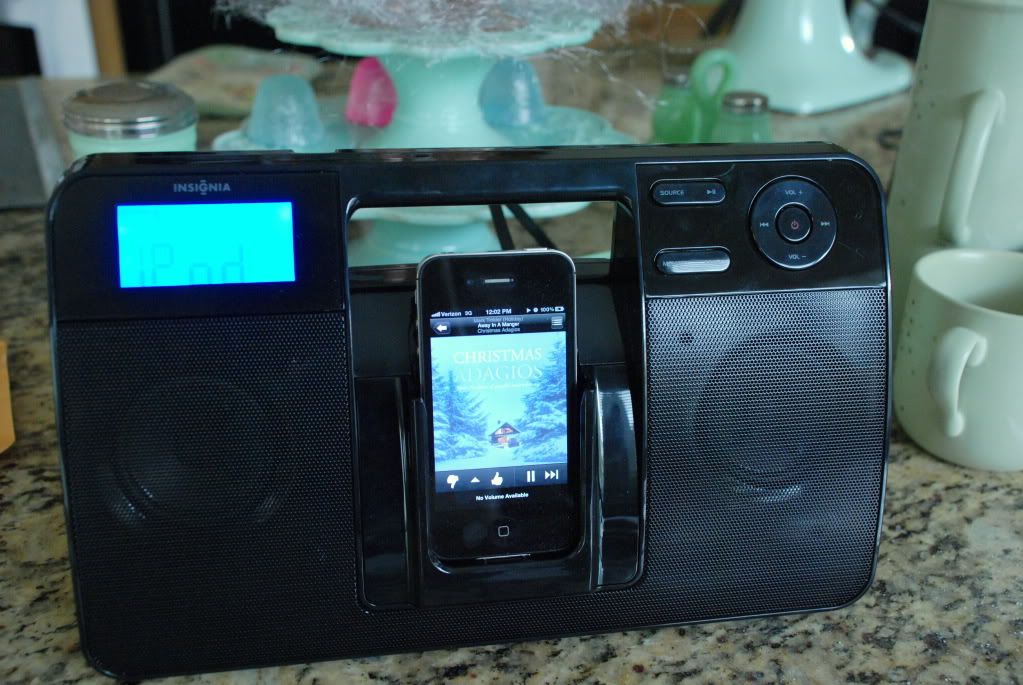
Thanks for the early Christmas present, husband!  I love being able to listen to Pandora through real! speakers while I bake.

Merry Soon-To-Be Christmas!

Monday, July 25, 2011

Muffin Divinity

All right, we're all friends here, right?  So, I'll just come right out and say it:  I'm a big, hungry, sweet-loving pregnant girl. 

And these, these muffins right here?  They are my new BFFs.  And I hate the term BFF.  They are that good.


Doughnut Muffins.

Yes, people, Doughnut Freaking Muffins.  They are muffins, that taste like doughnuts.  I've done died and gone to Muffin Heaven, where lil' muffin men are dancing around me in ring-around-the-rosy chains and kissing lady doughnuts behind every streetlamp that is bouncing along to the bumpity-bop rhythm of the baked goods big band.

I got the recipe off of Kiwi homemaker extraordinaire, Paisley Jade's blog.  Who got it from Jen over here.


A word on my muffin making adventure:

I used muffin papers to avoid scrubbing my muffin tin.  (if you have children or a soul, you will understand my shortcut)  I also did half the batch fully dipped in butter (did she just say dipped in butter?!) and the other half remained under wraps with only their lil muffin tops getting the buttery goodness.  I thought that the full butter dip might be a bit of an overload and I think I was right.  At least for my tastes.  But, heck, you might be Paula Freakin' Dean and to you I say, go for it!  My muffins aren't as pretty as the original website's muffins because I had to peel off the wrappers and I don't have those kinds of mad baking skills.  Or the time to photoshop my muffins.  (I wonder how many Google hits I'm going to get for that last sentence?)


Without further ado, here is the recipe:

Doughnut Muffins


Ingredients:


For the muffins:


•1 3/4 cup flour

•1 1/2 teaspoons baking powder

•1/2 teaspoon salt

•1/2 teaspoon nutmeg

•1/2 teaspoon cinnamon

•1/3 cup oil

•3/4 cup sugar

•1 egg

•3/4 cup milk


For the coating:


•1/4 -1/2 cup butter, melted

•1/3 cup sugar

•1 tablespoon cinnamon


Directions:


1.Preheat oven to 350 degrees and grease a muffin tin.

2.Combine flour, baking powder, salt, nutmeg and cinnamon in a medium bowl.

3.Combine oil, sugar, egg and milk in a large bowl. Add dry ingredients and stir only to combine.

4.Bake at 350 degrees for 15-20 minutes. While muffins are baking, melt butter in a small bowl. In another small bowl, combine the sugar and cinnamon.

5.Shake muffins out of the muffin tin while the muffins are still hot.

6.Dip muffins in the melted butter and then into the sugar and cinnamon mixture. Place on a wire rack and allow to cool.  Makes a dozen average size muffins.

7.Stand over rack and consume hot muffins while your children tug on your skirt and ask annoying questions like Can we have one?  Are they good?  Why are you shaking and sweating so much?  Should we call Daddy?
 
8.Get tested for di-uh-beet-us.
 
 
But seriously, all in moderation folks.  Of course, I had to immediately try one full coat and one buttered top only to decide which I preferred.  All for you, my loyal readers.  The sacrifice was all for you.  And the one I will eat after hitting Publish will be for you as well.  Because I care.
 
Time to go stuff this here muffin top into a more comfortable pair of pants...

Linky-linky!


Friday, May 6, 2011

Frosty Strawberry Squares...oh my!

We're feeling the effects of early summer settling in.  The temperatures have been in the upper 80's and 90's.  The sprinkler has been on in the morning for Neill to run through and I am ready for the older boys to be home for summer. ( I may later regret those words...)

I'm looking forward to beach days and creek side tramps, watermelon munched in the cool, shady grass and homemade summery treats.  Homemade lemonade is definitely in our immediate future.  For today I made these:


This is how my mom always ushered in summer for us.  One of the first signs, fresh strawberries, mixed with velvety cream and chilled to frosty, pink perfection.  I've been totally craving these!


And somehow, over the years, they morphed into Frosty Strawberry Squares, Oh My!  Hehe.


Would you like to try them?  You will love them, I promise!

Frosty Strawberry Squares

Ingredients:

1 cup flour

1/2 cup packed brown sugar

1/2 cup chopped pecans or walnuts or granola (we have to modify our recipe to granola due to a nut allergy)

1/2 cup butter, melted

2 egg whites

2 tablespoons lemon juice

1 cup white sugar

2 cups finely chopped strawberries

1 cup heavy cream

Directions:

Preheat oven to 350 degrees.
Mix flour, brown sugar, nuts or granola and melted butter together in a bowl.  Spoon out, evenly, onto tin foil covered cookie sheet.  Heat in oven until mixture begins to smell toasted, about 10 minutes.  Remove and set aside to cool.
In mixing bowl combine egg whites and lemon juice and whip until soft peaks form.  Slowly add in sugar while whipping.  Whip until stiff peaks form.  Fold in strawberries.
In another mixing bowl beat cream until stiff but not grainy.  Fold whipped cream into egg white and strawberry mixture.
Sprinkle 2/3 nut/granola mixture over bottom of greased 9x13 pan.  Pour strawberry cream mixture over this and smooth evenly.  Sprinkle reserved nut/granola mixture over top.


Cover with saran wrap and place in freezer for 6 hours or overnight before serving.  Let thaw fifteen minutes before cutting.

Happy Early Summer Dreams to you!

Tuesday, November 16, 2010

Giving Thanks

If you have read my blog for any length of time, you know that I'm all about making traditions and memories for my littles.  This year we've started a new one, inspired by my friend Linda, who's children are now grown but still love it.

We made ourselves a thanksgiving tree.


The boys and I shredded and crumpled brown paper bags and packaging paper and taped them to the wall to create a tree.  Then we cut leaves out of scrapbook paper, making sure they were big enough for people to write on.


I made a little pocket on the wall next to the tree and filled it with our leaves and a pen.  Anytime anyone thinks of something they are thankful for they can write it on a leaf and stick the leaf on the branch.  Our goal is to get so many leaves that we have to "rake" them up at the end of fall! 


Be warned!  Anyone who visits my house will be asked to fill out a leaf, even the Fed-Ex guy!


I also made some grass and a mushroom and few birds to embellish our tree, because that's just how I am. ;)


I finished another paper wreath with waxed fall leaves, this time for Rena.  I LOVE how it came out!  Makes me want to redo mine!


What traditions does your family have for Thanksgiving?

Friday, July 23, 2010

Darling Starling Potholder Tutorial


I've been sewing sewing sewing!  I made myself the cutest new dress.  I have a passion for vintage dresses from the fifties.  Sadly, they either cost a fortune, are disintegrating or impossible to find in my size.

I started snapping up vintage patterns, again hard to find in my size when you consider that a size 12 was a 32 bust, 23 waist!  I've also discovered some vintage pattern reproductions.  I'm having a blast.  I've got to get the husband to take pictures of me modelling a couple and put them up here!

Today, I made good on my promise and created the pattern for my bird potholder, which is available in this post.  Just save the images to your computer.  Sorry about the quality of the images.  I created them in Photoshop and then realized I had to take them down to jpeg files to work for you all.

I refined the shape and style a little since I am no longer free handing it! ( Sorry Greta!  Now you've got the original guinea pig potholder.  But it's one-of-a-kind!)

Next I made myself a potholder and photographed it step-by-step so you can now make your own should you chose!

It's a fun little project, fairly simple, taking me about a half hour for potholder #2, now that I know what I'm doing and have a pattern!

Without further ado, the tutorial:

Betsi's Darling Starling Potholder
tutorial and pattern by: Betsi Jenkins


Items needed:

  • cotton fabric

  • matching thread

  • extra wide double-fold bias tape

  • felt

  • fusible interfacing

  • poly fill
Directions:

Print out pattern.  Size adjustment may be necessary.  Each image should fill a standard 8"x11.5" sheet of computer paper. 


Trim extra paper from patterns leaving a border around each image.

Fold fabric once in half, right side out.

Pin underside portion (B) with fold line flush with fabric fold.  Pin top portion (A 1,2) so that two identical birds will be cut at once.


Cut out patterns.

Remove underside (B) pattern from fabric.   Fold piece of felt in half.  Pin underside pattern to felt matching fold line to fabric fold.  Cut.


Lay felt out flat.  Cut fusible interfacing to size of felt.  Iron interfacing to felt, following directions on interfacing. 

Lay felt out flat, interfacing side up.  Lay underside portion (B) fabric flat on top, right side up.  Sew felt to underside fabric 1/4" from edge all around.


Lay one side of top portion (A1) right side down.


Fold underside (B) in half,  felt on the outside, fabric on the inside.  Line up on top portion (A1) with underside fold towards top of bird's "back".

Fold open underside (B).  Pin along bottom semi-circle of bird (A1).

Fold underside (B) flush again.

Line up second side of top portion (A2) right side up onto underside semi-circle.   Pin half of underside (B) to top portion (A2) at semi-circle.  Stitch along pinned sections to create a "pocket".


Sew head and tail of bird top portions (A1,2) together, leaving "back" seam unsewn.


Sew on bias tape onto lower semi-circle of one side of pocket mouth.  Turn over.

Sew on bias tape from beak to tail on opposite side of bird/pocket, tucking in raw edges from reverse side.


Stuff poly fill into back of bird, lightly filling head, body and tail of bird on both sides.  Pin back seam closed.  Stitch together.


Pin bias tape to back from beak to tail, folding under ends.  Sew.


And your done!


I'd love to see your finished products if you choose to try this project out.  Leave me any questions you have in the comments!

Enjoy!

Wednesday, June 16, 2010

Terrific Bacon Potato Salad

I don't want my kiddos to remember me as "the mom who always looked great and had it all together" or "the mom who was on top of the messes and ironed every piece of laundry".  I want them to remember me as the mommy who colored with them.  The mommy who made homemade food and invited their friends over for dinner on a whim.  Who could make impromptu parties out of watermelon and lemonade.  I can be that mommy.  That's not too tall an order.  It's being me.  If I can set aside the expectations I have of being those other moms it will be ok.


Betsi's Terrific Bacon Potato Salad

  • 7 large red potatoes (12 small red potatoes)

  • 1 tsp. salt

  • 1/2 lb bacon

  • 1/4 c. fresh chopped parsley

  • 1/4 c. finely diced shallots

  • 1 medium red bell pepper, finely diced

  • 2 tbsp. white wine vinegar

  • 1 c. mayonnaise

  • 1 tsp. oregano

  • salt and fresh cracked pepper to taste
     Clean and slice potatoes into 1/8" thick segments.  If using large potatoes, I like to cut these in half.  Put in stock pot and cover with cold water.  Bring to boil and boil for 15 minutes.  Remove immediately and drain in strainer.  Set aside to cool.

     Fry bacon in skillet until crisp but still tender.  Save 1 tbsp. of bacon grease aside.  Saute parsley, shallots and bell pepper in remaining grease in skillet until tender.

     Pour reserved, hot bacon grease into small bowl with vinegar.  It's very important that you use white wine vinegar, instead of just white vinegar.  The taste is so different in my opinion.  Add mayo and oregano and mix together.

     In a large bowl combine potatoes with shallot and pepper mix.  Crumble bacon over mix.  Cover with mayo mix and stir together adding salt to taste and fresh cracked pepper if desired.

Enjoy!

Tuesday, June 1, 2010

When life gives you lemons..

Oh what a weekend!  I love long weekends with all my family home and barbecues afoot and friends coming to stay.  Our long weekend began on Friday with Isaac off from school and Justin off from work. We even had a failed camping attempt planned.  Unfortunately, autism had a different idea so the trip was postponed but other fun things occurred instead.

Last night I surveyed the damage.  It's not too bad.  The house is generally clean except for a generous sprinkling of toys and books.  But the kitchen sink.  The recipient of a couple days of merriment and the inevitable "every one's home" effect.  It's moments like these that it really hits home that I live with four men.

I sighed, not exactly excited about beginning this monumental task at ten at night.  House Hunters International was on in the background and I made a decision.  My brain still needed a vacation from our vacation weekend.


I needed lemonade.  Fresh lemonade.  I grabbed about fourteen lemons, organic naturally, sugar, my jadite juicer and my special, specifically for homemade lemonade, pitcher.


(Forgive my claw like hands here)

It's very important when making lemonade to use the right ingredients in the right proportions.  I'd love to give you a recipe but it's all by taste really.  I squeeze about two cups of lemon juice and add in about two or more cups of organic sugar (this has to be stirred longer as it takes longer to dissolve) and fill the rest of the pitcher with water.


And no other lemonade will ever taste this good.  Not even the Hot Dog on a Stick stuff.

So the dishes still await.


But so does the lemonade.