


How was your Thanksgiving? Or Thursday for non-American readers?
We had a chill dinner at my parent's house.
We normally go up to Justin's relatives in northern California but this year we skipped the long drive because we have a newborn and we are not insane.
I also normally eat mashed potatoes and pumpkin pie but this year with the new diet I was afraid these were lofty and unreachable dreams.
The potatoes, maybe. But I had my pie and I ate it too. And it was gooood.
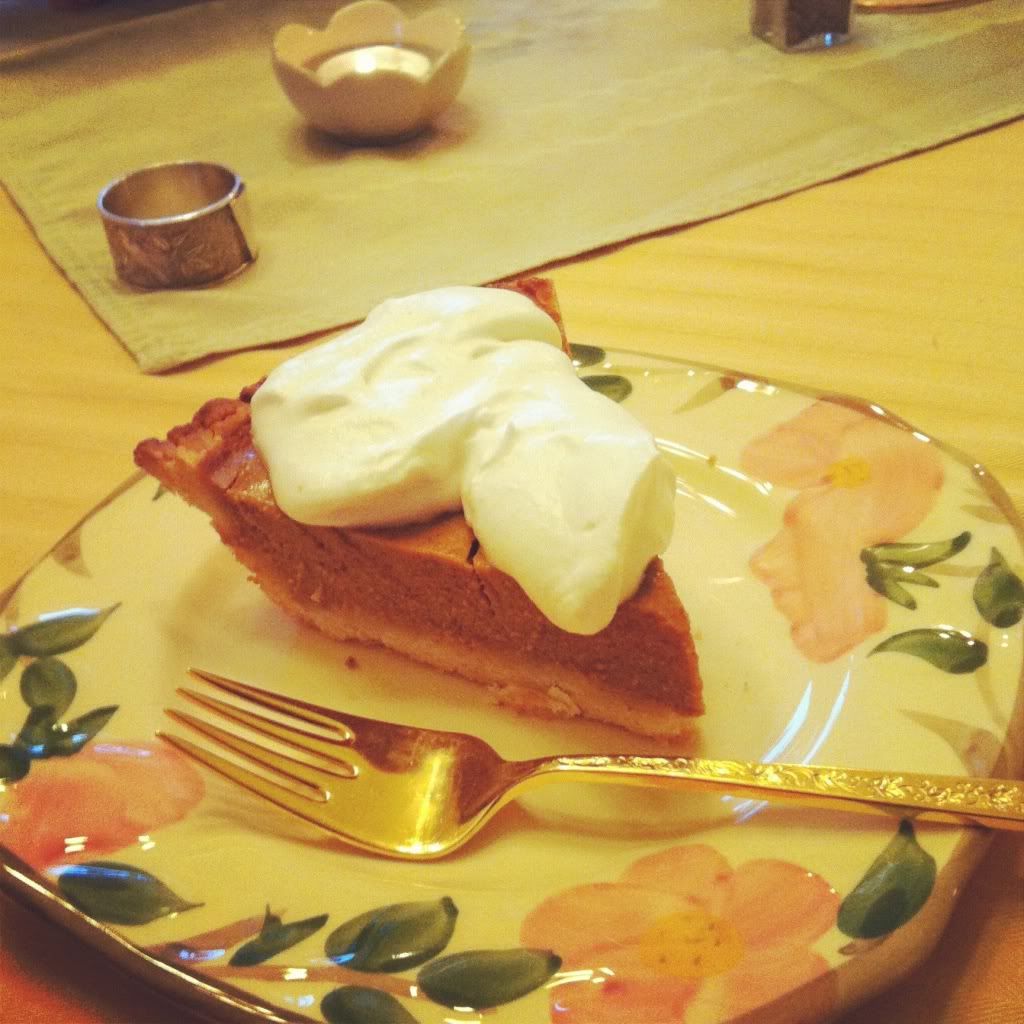
Forgive my iPhone picture. I forgot to bring my camera to dinner. But we remembered all the kids, so there's that.
So I decided to share the recipe I used to make not only gluten and dairy free pumpkin pie, but also g and d free whipped cream! Yay! Enjoy my fellow wheat and dairy challenged friends.
Gluten and Dairy Free Pumpkin Pie
For the crust I used a pie crust mix by The Gluten-Free Pantry. Order a box here.
I lined my crust with parchment paper and filled it with dry pinto beans at weight and prebaked it 15 minutes at 400*. Remove and let cool before adding filling.
Filling:
found here
Ingredients:
- 15 ounces Canned Pumpkin
- 3/4 cup dark brown sugar
- 1 teaspoon freshly grated ginger
- 1 teaspoon cinnamon
- 1/4 teaspoon all-spice
- 1/8 teaspoon cloves
- 3 eggs, lightly beaten
- 1 cup organic coconut milk
1.Preheat the oven to 350 degrees.
2.Combine pumpkin, sugar, freshly grated ginger, cinnamon, all-spice and cloves in a bowl. Stir in eggs. Gradually add coconut milk. Stir ingredients until creamy and smooth.
3.Pour pumpkin mixture into the pie crust. Bake in the middle rack in the center of the oven for about 1 hour (or until knife inserted in the center comes out clean.) Set pumpkin on wire rack to cool for at least 1 hour before serving.
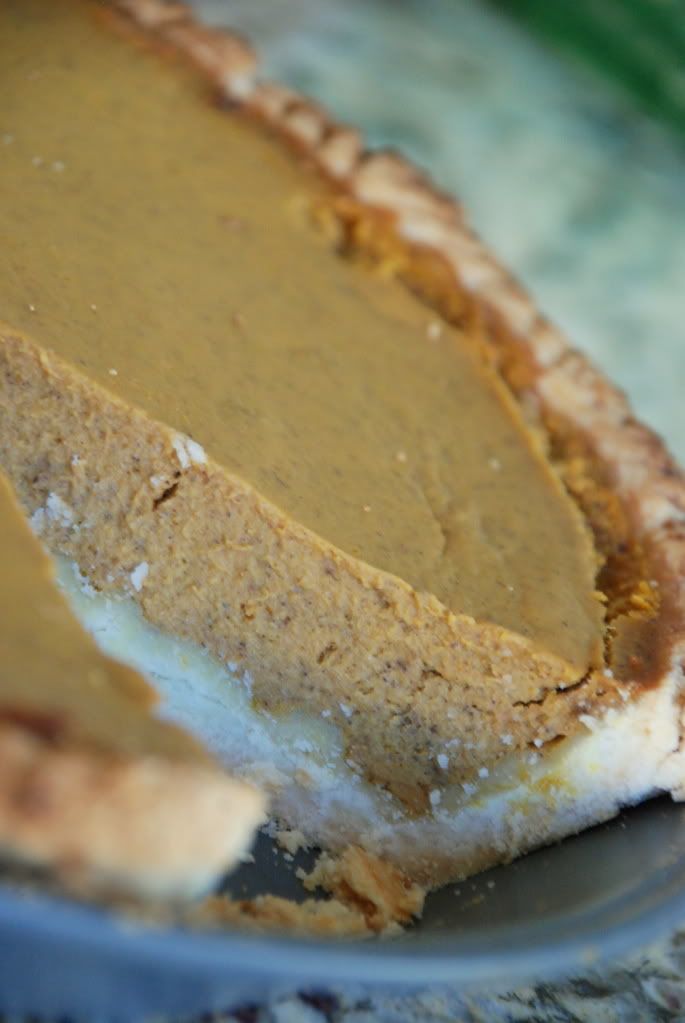
It looked and tasted just like everybody else's pie...maybe better. (sorry, Mom)
Gluten and Dairy Free Whipped Cream
found here
Ingredients:
- 2 cans of coconut milk full fat
- 1 cup powdered sugar
Place your cans of coconut milk in the refrigerator for a minimum of 24 hours. The longer the better.
Also, place your bowl and whip into the freezer for at least 3 hours to chill. I used my Kitchen Aid mixer's balloon whisk.
Once you take your bowl and whip out of the freezer and set up the mixer do not waste time. You need to keep the equipment cold. Open the cans at the bottom with a bottle opener to drain off the coconut water. Save this it is great for smoothies. Now open the top of the can all the way and scoop out the thick cream.
Start your mixer on low and move up 1 or 2 notches for speed until you get to moderate. As it starts to whip and increase in volume, gradually add in the powdered sugar. Once it’s mixed and looks fluffy like whipped cream, well you now have whipped cream.
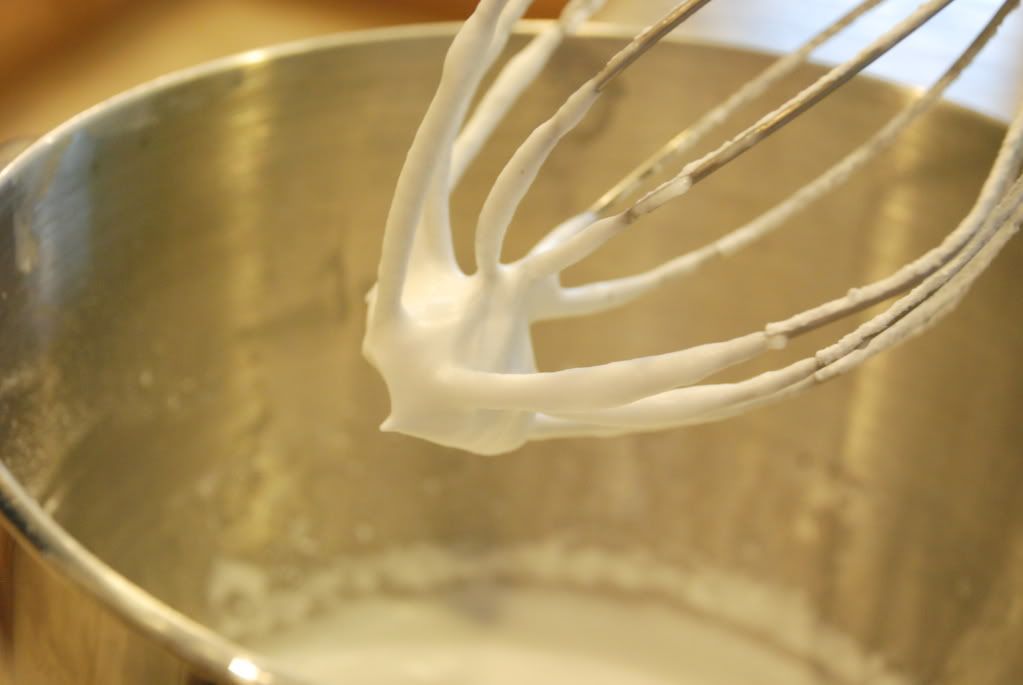
It did taste of coconut for the first couple bites but after that it just tasted whipped creamy.
I'll leave you with two of my reasons for being thankful this year:

Now to decorate for Christmas...

(have I mentioned the sleep deprivation?)
your family is adorable. :) I'm so happy I stumbled upon this little blog today!
ReplyDelete